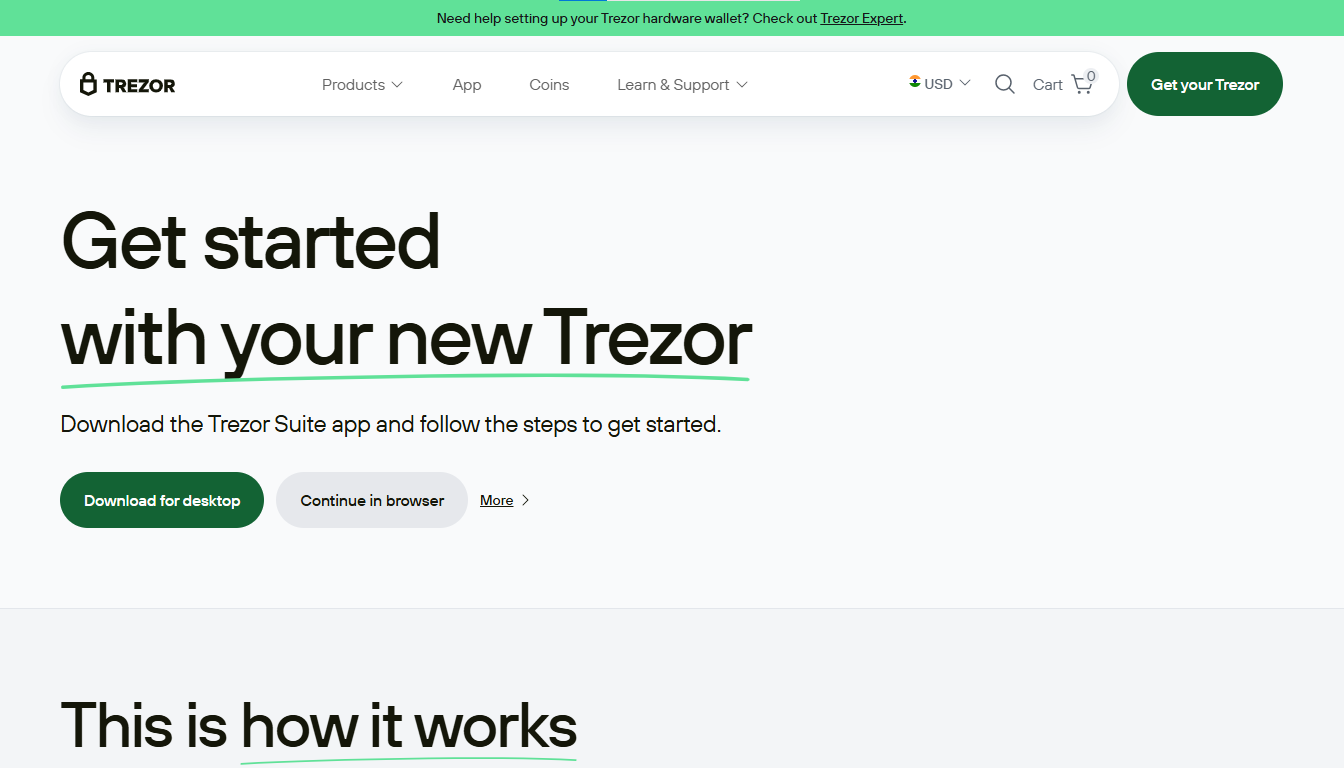
The link trezor.io/start is the official onboarding and setup page for Trezor hardware wallets. This is where users are guided through the process of initializing and securing their Trezor device for the first time.
Here’s what you can typically expect when you visit trezor.io/start:
🔐 Purpose of the Page
The page is designed to:
- Help new users set up their Trezor One or Trezor Model T
- Install the official Trezor Suite desktop or web app
- Provide guidance on creating a wallet, generating a recovery seed, and securing your device
🛠️ Steps You’ll Follow
- Choose Your Device
- Select either Trezor One or Trezor Model T.
- Connect Your Device
- Plug your Trezor into your computer or mobile device using the provided USB cable.
- Install Trezor Suite
- Download the official app (desktop preferred for security).
- Alternatively, use the web version if you’re not installing the app.
- Firmware Installation
- Your device may prompt you to install or update the firmware.
- Trezor never ships devices with firmware pre-installed (a security measure).
- Create a New Wallet
- After firmware installation, you’ll create a wallet.
- The device will generate a 12- or 24-word recovery seed.
- Backup Your Recovery Seed
- This is critical. Write it down and store it securely offline.
- Never take a picture or store it online.
- Set PIN & Passphrase (Optional)
- Add extra protection by creating a PIN.
- You can also use an optional passphrase for enhanced security.
🧠 Important Reminders
- Only follow instructions on trezor.io/start to avoid scams or fake setup sites.
- Never share your recovery seed with anyone. Trezor or any legit service will never ask for it.
- Always verify you're on the real Trezor site by checking the URL and using HTTPS.
✅ What You Get After Setup
- Access to your secure hardware wallet through Trezor Suite
- The ability to send, receive, and manage a wide range of cryptocurrencies
- Tools for portfolio tracking, privacy enhancements (like Tor), and integration with apps like MetaMask
Would you like a step-by-step guide based on the device you own (Trezor One or Model T)?
Made in Typedream